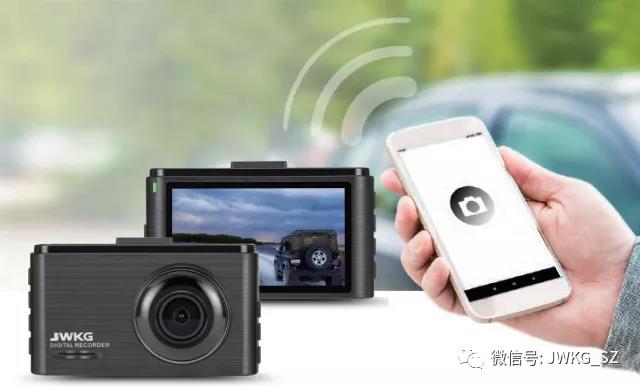
Let's talk about the installation method of onboard recording instruments
Many people are not familiar with how to install a dash cam, so I would like to share some of my experience with you here, hoping to be helpful. The key to dismantling the original rearview mirror housing is to remove the two shells on the left and right sides of the rearview mirror base. Without proper technique, not only can it not be removed, but it may also damage the housing, including the plastic conduit of the cable.

Remove the original rearview mirror (without moving the rain sensor base), now it's crucial to press down on those two metal pieces to smoothly remove them. After disassembling the rearview mirror cable and opening the casing, you will find two cables. The one on top is connected to the rain sensor, and this one does not move.
Below is the connector for connecting the anti glare rearview mirror. Simply unplug this connector. Disassemble the base of the dash cam and first take a look at the complete outer shell of the dash cam base. This step is very simple. Hold one side of the outer shell with one hand, bend it down, and then install the dash cam base separately.
Align the left and right metal pieces (now black metal pieces) on the base of the recorder with the groove on the rain sensor base, align both ends, and evenly push both ends up to the bottom of the groove, making sure it is at the bottom, otherwise the installation will not be firm enough to connect the driving recorder. This step is very simple, just insert it directly! If not possible, just change the direction and viewpoint! 10 seconds!


